Common Mistakes in Drywall & Sheetrock Installation and How to Avoid Them
Master Drywall & Sheetrock Installation: Avoid Costly Errors with Expert Tips
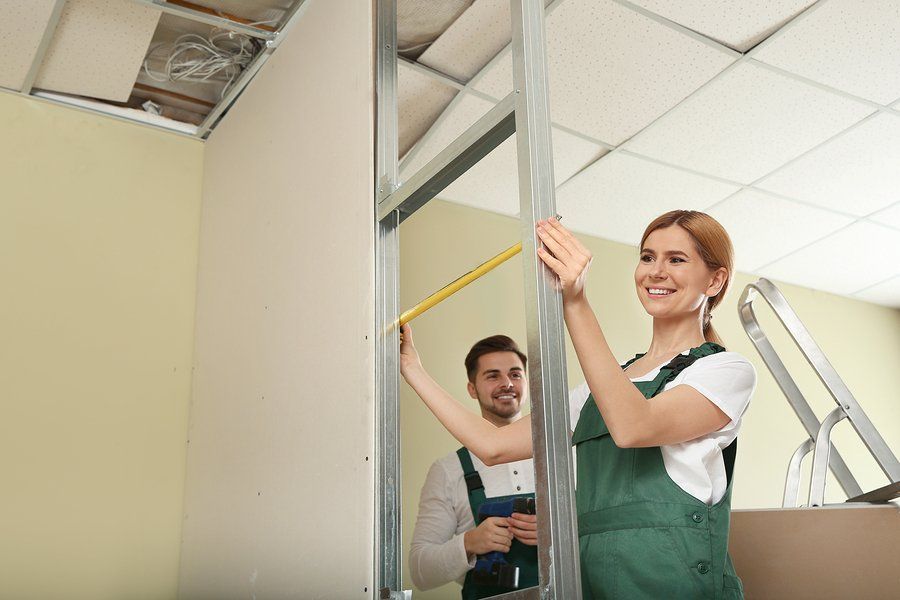
Installing drywall and sheetrock may seem like a straightforward task, but there are plenty of pitfalls that can lead to subpar results or costly repairs. Whether you’re a DIY enthusiast or working with professional drywall contractors, understanding these common mistakes will help you achieve a flawless finish. This guide will walk you through the most common issues in drywall and sheetrock installation and how to avoid them.
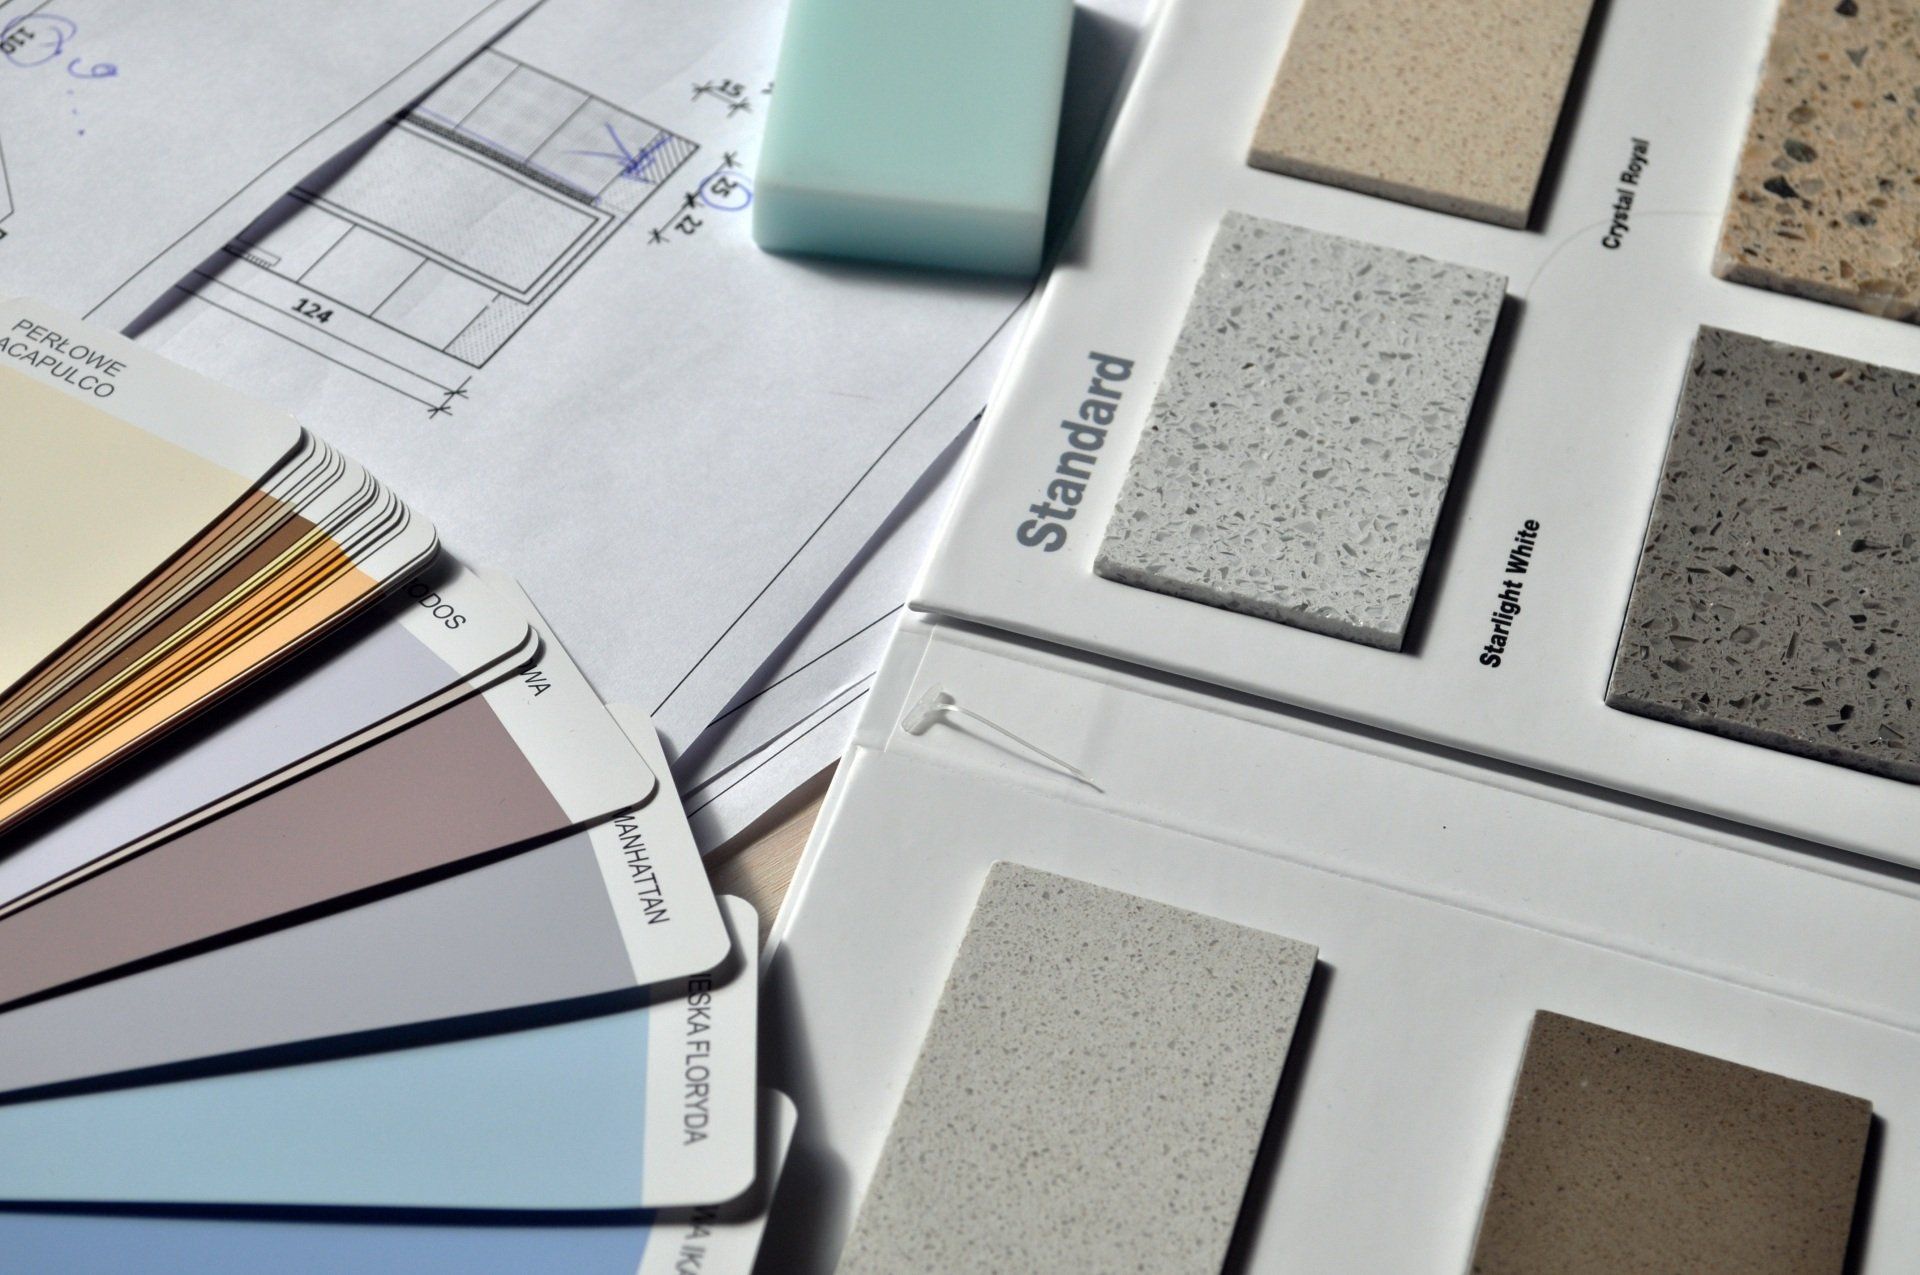
1. Choosing the Wrong Drywall Sheets
One of the first mistakes people make is selecting the wrong type of drywall sheets. Drywall, also known as gypsum wallboard, comes in a variety of thicknesses and types, including moisture-resistant, fire-resistant, and soundproof options. If you're installing drywall in a bathroom or kitchen, using a standard sheet of sheetrock instead of a moisture-resistant variety can lead to mold problems down the line.
How to Avoid:
Always match the drywall sheets to the specific needs of your space. For high-moisture areas, choose moisture-resistant drywall. Fire-rated drywall is essential for areas around fireplaces or furnaces.
2. Improper Joint Compound Application
Joint drywall compound is essential for filling seams between drywall panels, but applying it improperly can result in visible seams, cracks, or bubbles. Many beginners apply too much joint compound, leading to a bumpy surface that’s difficult to sand smooth. On the other hand, too little sheetrock compound can result in weak seams that are prone to cracking.
How to Avoid:
When applying joint compound, use a wide taping knife to smooth it evenly across the seams. It’s best to apply multiple thin layers rather than one thick one. Let each layer dry before adding the next to ensure the best finish.
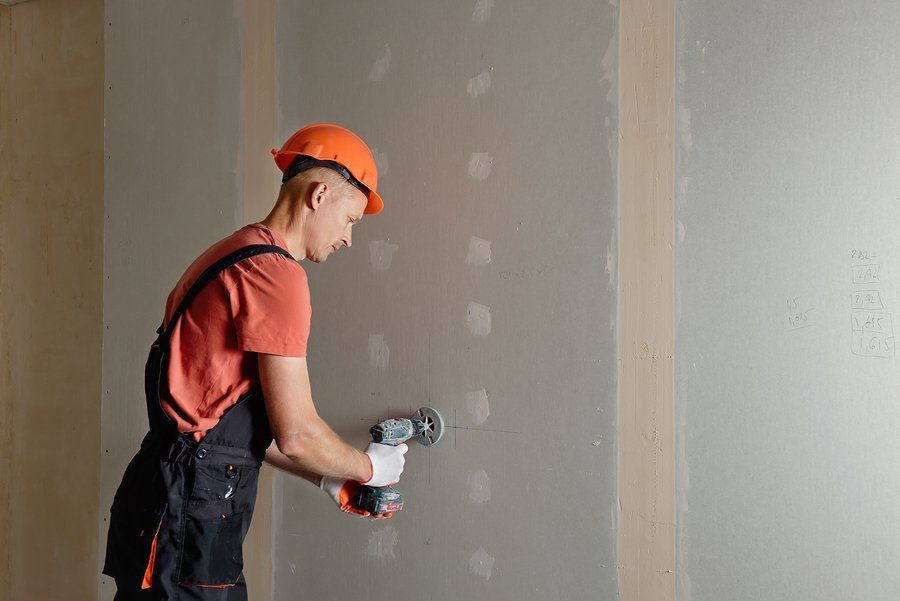
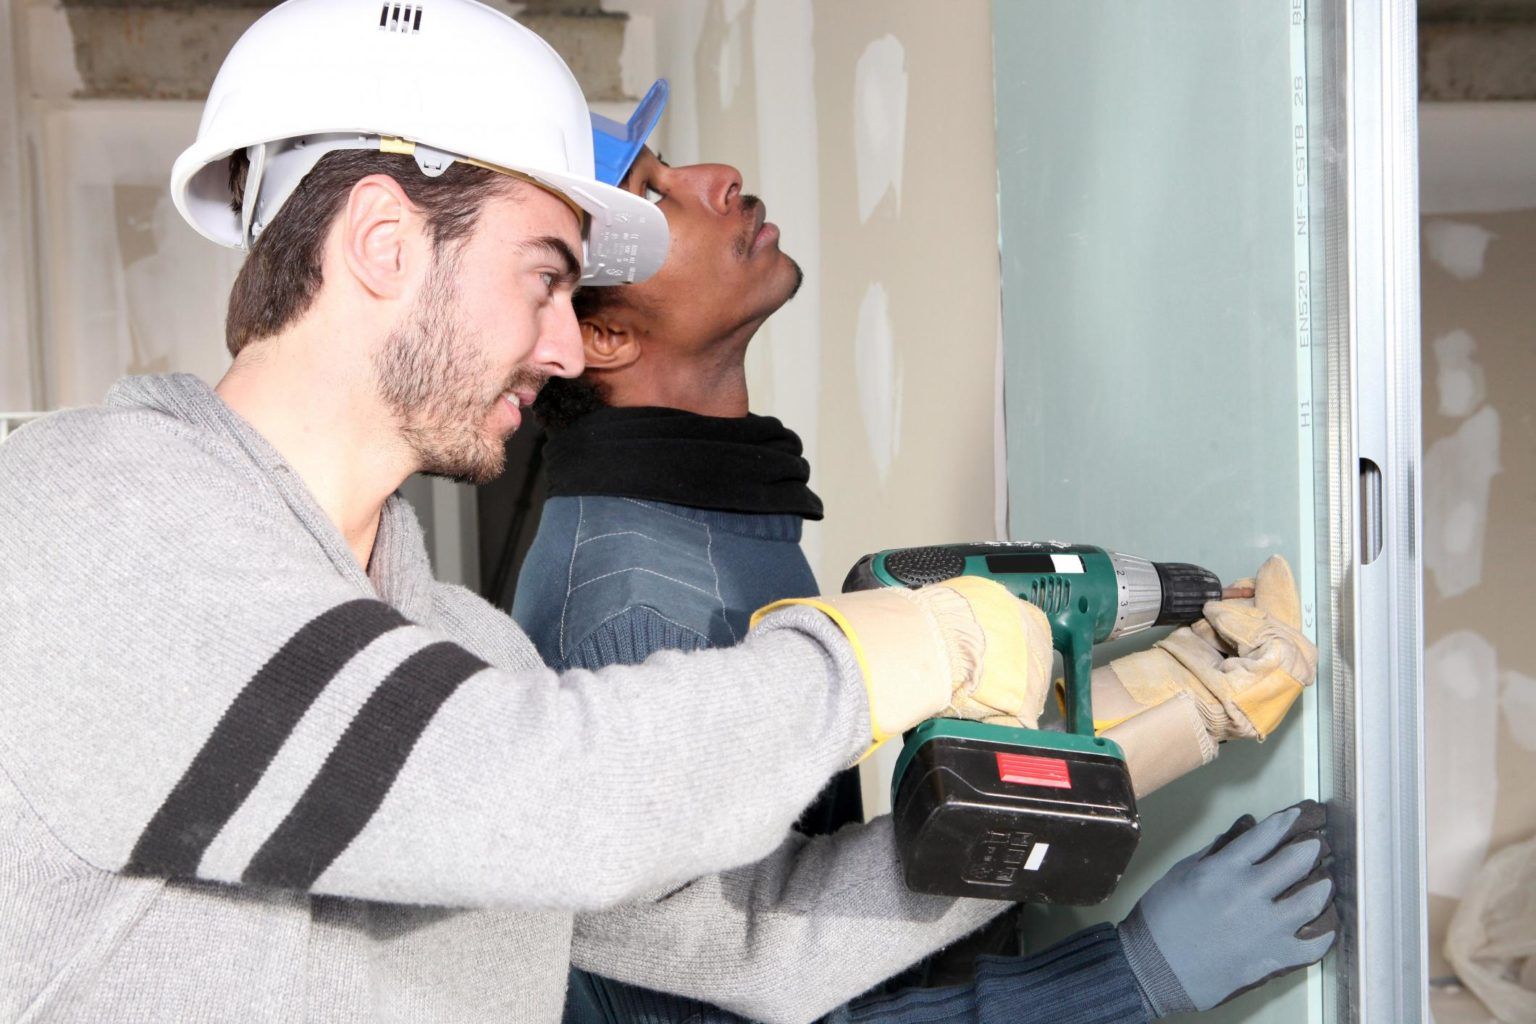
3. Over-Screwing or Under-Screwing Drywall
When attaching drywall to studs, another common mistake is either over-screwing or under-screwing the panels. Over-screwing can break the paper face of the drywall sheet rock, reducing the strength of the attachment. Under-screwing leaves the drywall unsecured and can lead to movement or cracks in the future.
How to Avoid:
Drive screws so that the heads are just below the surface of the drywall sheets without breaking the paper. A drywall screw setter or drill with adjustable settings can help achieve the perfect depth.
4. Failing to Use Drywall Tape
Skipping the use of drywall tape when joining drywall and sheetrock panels is a critical mistake. Without tape, the joint compound will not adhere properly to the joints, leading to cracks and drywall repairs later on.
How to Avoid:
Always apply a layer of drywall tape over seams before using wallboard compound or joint drywall compound. Paper tape is a common choice, but fiberglass mesh tape is easier for beginners to handle and works well in preventing cracks.
5. Inaccurate Drywall Cutting
Cutting drywall inaccurately can result in uneven edges, causing gaps that are hard to fill or requiring additional drywall fixes. Poorly cut drywall also makes it difficult to achieve a smooth finish, leading to unnecessary drywall sheet rock patches and sheetrock wall repair down the road.
How to Avoid:
Measure twice, cut once. Use a straight edge and utility knife to score the sheet rock sheet, then snap it along the line for a clean break. If you need to make cuts for electrical outlets or light switches, use a drywall saw or rotary tool to ensure precision.
6. Incorrect Drywall Layout
Not planning the layout of your drywall installation can lead to unnecessary joints or seams in prominent places. Large gaps or extra seams make it more difficult to get a smooth surface, and they increase the chances of future wallboard repairs.
How to Avoid:
Plan the placement of each sheet rock panel so that seams are minimized, especially in high-traffic areas where bumps and imperfections will be more noticeable. Use full sheets as much as possible and avoid small patches that can compromise the wall’s integrity.
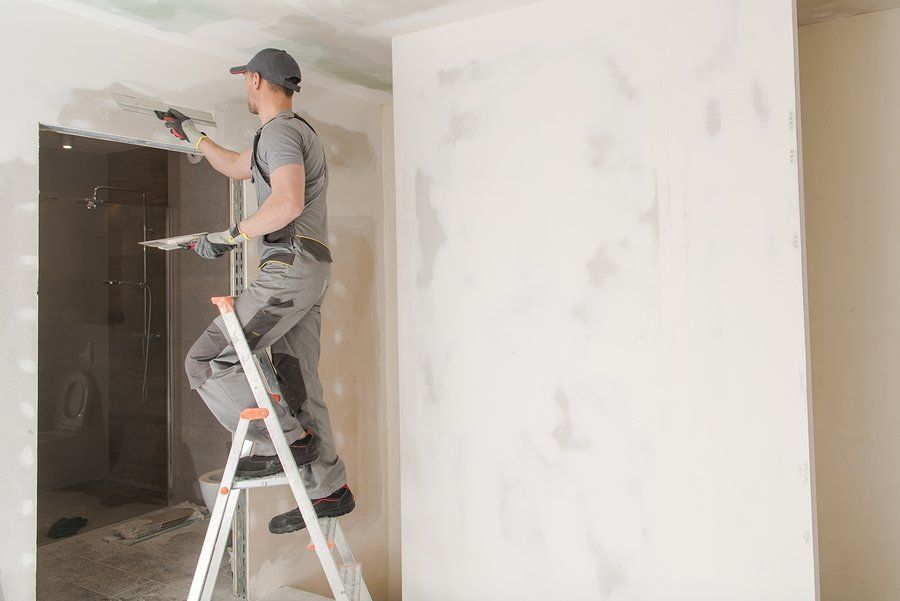
7. Skipping the Sanding Step
One of the most tedious yet crucial steps in drywall installation is sanding. Many DIYers rush through this step, leaving behind lumps or ridges in the sheetrock compound, which results in an uneven surface once painted.
How to Avoid:
Take your time with sanding, and use fine-grit sandpaper for the final pass. Sand lightly over the seams where joint compound was applied to achieve a smooth finish. A sanding pole can help reach high areas, and using a vacuum sander will keep dust to a minimum.
8. Mismanaging Drywall Installation Costs
A common mistake many people make is underestimating the drywall installation cost. While drywall itself may not be expensive, other factors like hiring drywall contractors or renting tools can quickly add up.
How to Avoid:
Get quotes from several drywall contractors or sheetrock contractors near me to compare prices. Consider doing part of the work yourself, like preparing the space or hanging the drywall, and leave more complicated tasks like finishing to professionals. Always budget for unexpected costs, like extra materials or wallboard repairs.
9. Using the Wrong Thickness for Drywall
Drywall comes in different thicknesses, and using the wrong thickness can lead to problems. Too thin, and the wall may not provide adequate soundproofing or strength. Too thick, and you could be wasting money or creating difficulties with installation, such as improper fitting around doors and windows.
How to Avoid:
For most residential walls, 1/2-inch drywall is standard. However, ceilings may require 5/8-inch drywall for additional strength. Consult with drywall contractors to determine the correct thickness for your specific project.
10. Skipping Priming After Installation
Once the drywall installation is complete, some skip the priming step before painting, thinking it’s unnecessary. However, drywall absorbs moisture from paint unevenly, resulting in a blotchy appearance if not primed correctly.
How to Avoid:
Always apply a primer specifically designed for new gypsum wallboard before painting. This ensures an even finish and helps the paint adhere better to the surface.
11. Overlooking Environmental Factors
Humidity and temperature can significantly affect sheetrock installation. Installing drywall and sheetrock in extremely humid conditions can cause the material to absorb moisture, leading to warping or sagging.
How to Avoid:
Make sure to install drywall in a temperature-controlled environment. If working in high-humidity areas, use moisture-resistant gypsum wallboard to avoid damage.
12. Failing to Account for Expansion and Contraction
Drywall can expand and contract with changes in temperature and humidity. If you don’t leave enough space between panels, they may buckle, leading to unsightly cracks and the need for frequent dry wall patch jobs.
How to Avoid:
Leave a small gap, typically about 1/8 inch, between sheets to allow for expansion. Use sheetrock compound to fill gaps and prevent visible cracks later.
Confused about performing drywall repair yourself or hiring a pro? Check out our DIY vs Pro guide.
Conclusion
Understanding and avoiding these common mistakes in drywall and sheetrock installation can save you time, money, and frustration. From choosing the right materials to applying joint compound correctly, every step is crucial for a long-lasting and professional finish. Whether you’re handling the installation yourself or working with sheetrock contractors, these tips will ensure your walls are smooth, strong, and built to last.
By following this guide and being aware of potential pitfalls, you can avoid common mistakes and prevent costly drywall repairs or sheetrock wall repair projects in the future. Proper planning and attention to detail are key to a successful drywall and sheetrock installation that will stand the test of time.
Ready to work with Los Angeles Drywall Contractor Pros?
Let's connect! We’re here to help.
Send us a message and we’ll be in touch.
Or give us a call today at 818-514-7104
Contact Us
More Marketing Tips, Tricks & Tools